Manual Autoclaves

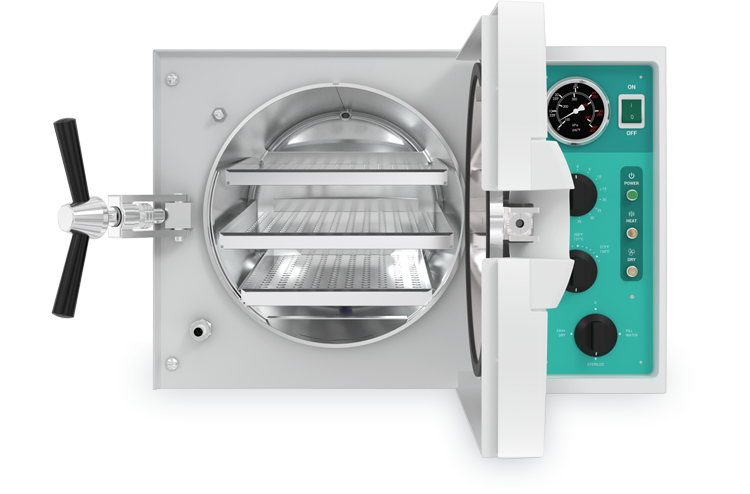
1. Place unit on a sturdy level counter.
2. Measure out the proper amount of water according to model: The Valueklave 1730M = 10-12oz 2340M, 2540M, 2540MK = 12-15oz 3870M = 24-27oz
3. Pour the water in through the front door of the unit. This water should cover the bottom of the chamber up to the groove in the front.
4. If needed adjust the front leveling feet to achieve the necessary pitch.
5. Fill the Reservoir with distilled water
6. The unit is ready to operate.
Automatic Autoclaves

For units with a Microprocessor version # ending in WP (the version # is displayed on the screen each time the unit is turned on).
- Place unit on a sturdy level counter.
- Fill the Reservoir with distilled water
- The unit is ready to operate
To Adjust the Filling Time:
- Press the STOP Key repeatedly until the message “Code:xxx” appears.
- Using the UP/DN arrow keys change the code to 105, then press the STOP Key.
- A message will be displayed saying “Water in = xx sec”
Using the UP/DN arrow keys change the seconds according to the following:
- EZ9 = 30 sec
- EZ10 = 35 sec
- 3870EK = 65 sec
Now press the STOP Key
- On some older units the message “Ea Type:” will appear,using the UP/DN arrow keys select either “0” for an E or EK type unit or “1” for an EA or EKA type unit.
- Press the STOP Key to finish
- The unit is ready to operate
For units with a Microprocessor version # NOT ending in WP
- Follow steps 1–5 for Manual Units above,then empty the water from the chamber and check the automatic water fill.
- Turn the unit on
- With the door open press and hold the door switch,then press the start button. When water starts flowing release the door switch.
- Water should come up to the same spot as the measured amount had.
- If need be adjust the automatic fill using the following procedure.
To Adjust the Automatic Filling:
- While leaving the door open turn power off.
- Press and hold the Manual Water Fill Button (this is the button with the two arrows).
- Turn the power back on
- When the normal display screen appears release the fill button –immediately press it in again and monitor the water flow
- Continue to hold the button until water reaches groove at front –then release button – wait ten seconds – the unit is reprogrammed.
Pre/Post Vacuum Autoclaves

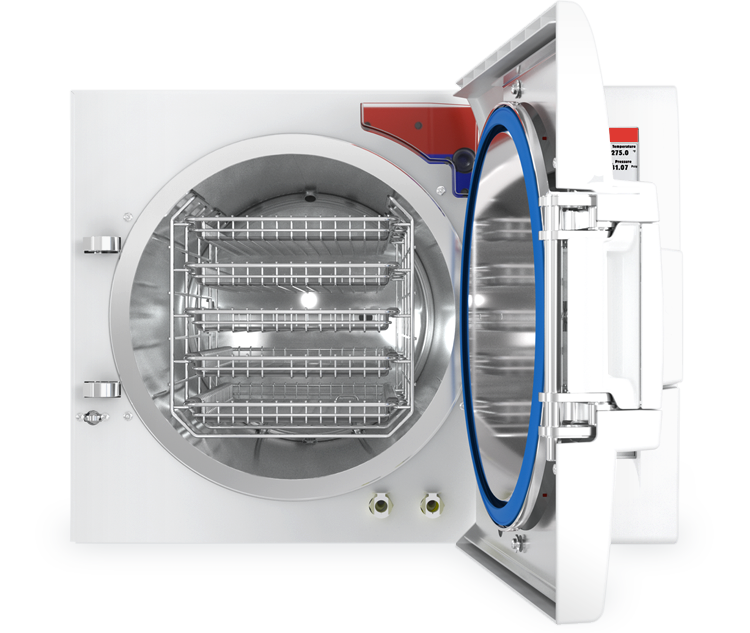
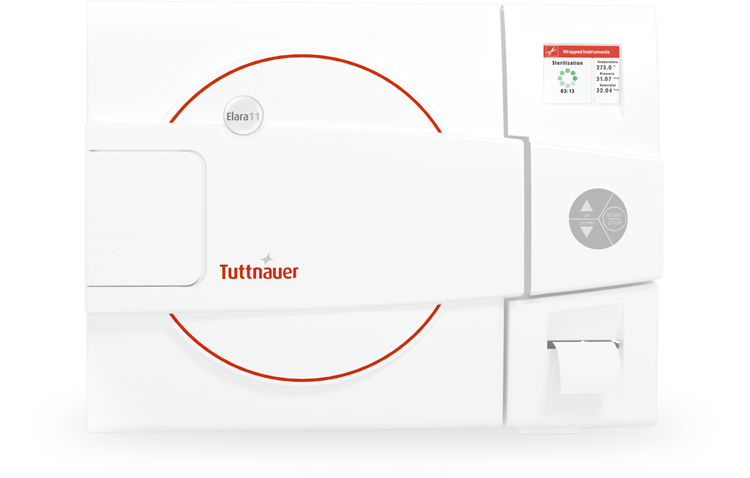
ELARA11 INSTALLATION
CAUTION: Any operation described in this section should be performed by a qualified technician only.
Unpacking the autoclave
- Unpack the autoclave and inspect for mechanical damage.
- Observe packing method and retain packing materials until the unit has been inspected.
- Mechanical inspection involves checking for signs of physical damage such as: scratched panel surfaces, broken knobs, etc.
To avoid injuries, lifting and carrying of the autoclave should be done with two or more persons or by using a mechanical aid.
- Installation preparations
- Check and verify that the counter carrying the autoclave is a rigid and leveled surface and can carry a load of 225 lbs (102kg). Attention: The Elara11 is not designed for use on a standard slide out shelf. If it is necessary to use a slide out shelf, it must be tested and/or rated for 225 lb (102kg) or more.
- Check and verify that the counter dimensions are at least 22” wide x 24” deep (55cm x 63.5cm).
- Keep the back and the sides of the autoclave 2” (5 cm) away from the wall to allow ventilation .
- If placed in a cabinet, verify that the rear of the cabinet is open to allow ventilation.
- Insufficient space for ventilation will result in a failure of the vacuum portion of the cycle.
- It is recommended that enough space be left around the autoclave to give a technician access for servicing the machine.
- Check and verify that the room ventilation is 10 cycles per hour minimum.
- Check and verify that the ambient temperature range is 41°F - 104°F (5°C - 40°C); it is preferable not to exceed 86°F (30°C).
- Check and verify that the ambient relative humidity does not exceed 85%.
- Connections to utility supplies
- Check and verify that the power supply is a 1 phase, 230Vac (220 to 235 volts) 50/60Hz, 15A supply. Failure to comply can result in poor performance and/or damage to the autoclave. If voltage is below 220V or above 235V, a buck/boost transformer (0.5KVA) must be installed by a licensed electrician.
- Check and verify that the autoclave is connected to a separate power source to avoid flickers of light or sensitive devices.
- Check and verify grounding of the autoclave.
- Check and verify that the electrical net is protected with a current leakage safety relay (GFI).
- At the time of installation, before the autoclave can be okayed for daily operation the following checks need to be made:
- The leakage current test.
- Test the operation of the current leakage safety relay (GFI).
- Ground Check: Test the continuity of the grounding connection.
Operating the autoclave
- Plug the power cord into the power socket.
- Turn on the Main Switch / Circuit Breaker.
- Select the "Vacuum Test" cycle to keep the steam generator and heating elements from heating up. (See Selecting a Program sec. 10.6 in the Operator’s Manual.)
- Open the door of the autoclave and remove the trays and the packaging material.
- Door check: Ensure that the door locking mechanism is functioning properly.
- Set clock and date. See Setting the Clock sec. 7.3 in the Operator’s Manual.
- Atmospheric Pressure check: This unit is set at the factory for 100 kpa; this is the atmospheric pressure at sea level. If the unit is located more than 500 ft above or below sea level then the Atmospheric Pressure parameter must be set accordingly. See ATMPressure sec 7.2.7 in the Technicians Manual (or call Tuttnauer Technical Service at 800-624-5836).
- Fill the Mineral Free Water Reservoir with water meeting the quality specs, shown in the Operator’s Manual sec. 4.10, as follows:
- Fill with 4 liters of mineral free water by pouring it into the mineral free water reservoir fill opening at the top of the machine (see front view in the Operator’s Manual).
- Fill the remaining quantity by pouring water gently into the front water reservoir funnel until it reaches the required level on the water level sight gauge (See Front View in the Operator’s Manual).
- Insert a paper roll in the printer (see Printer Handling sec. 8.2 in the Operator’s Manual).
- Close the door and perform a Vacuum Test. If the test fails, perform another test since the fail may be a result of moisture in the air. If the second test fails it may be necessary to run Program 2 with the long drying cycle to remove any excess moisture that is causing the test to fail.
- If the Vacuum Test is successful then select the B&D Test cycle. At this stage the chamber and steam generator will be heating up. It will take approximately 15 minutes (from selecting the B&D Test).
- While waiting for the unit to heat up explain and instruct the operator as follows (use the operation manual as reference):
- Operation principals of the autoclave.
- Preparation for sterilizing instruction including loading instructions.
- Intended use of each cycle.
- Selecting a cycle.
- Water filling method.
- Displayed error and operational messages.
- Monitoring and changing parameters.
- Printer handling.
- Maintenance instructions.
- At this point the autoclave should have reached operating temperature and be ready to perform the B&D cycle. Perform a B&D test with a chemical indicator.
- The operator should perform a cycle under supervision of the technician.
After the above steps are performed, the autoclave is ready for daily use.